I've known snappify for a long time, and the tool has literally transformed over the years. Initially a simple image editor for developers sharing their code on social networks, snappify has now become an ultra-complete tool with which it's possible to do all sorts of things.
The tool is developed by Dominik Sumer, an Indie Hacker 🤩!
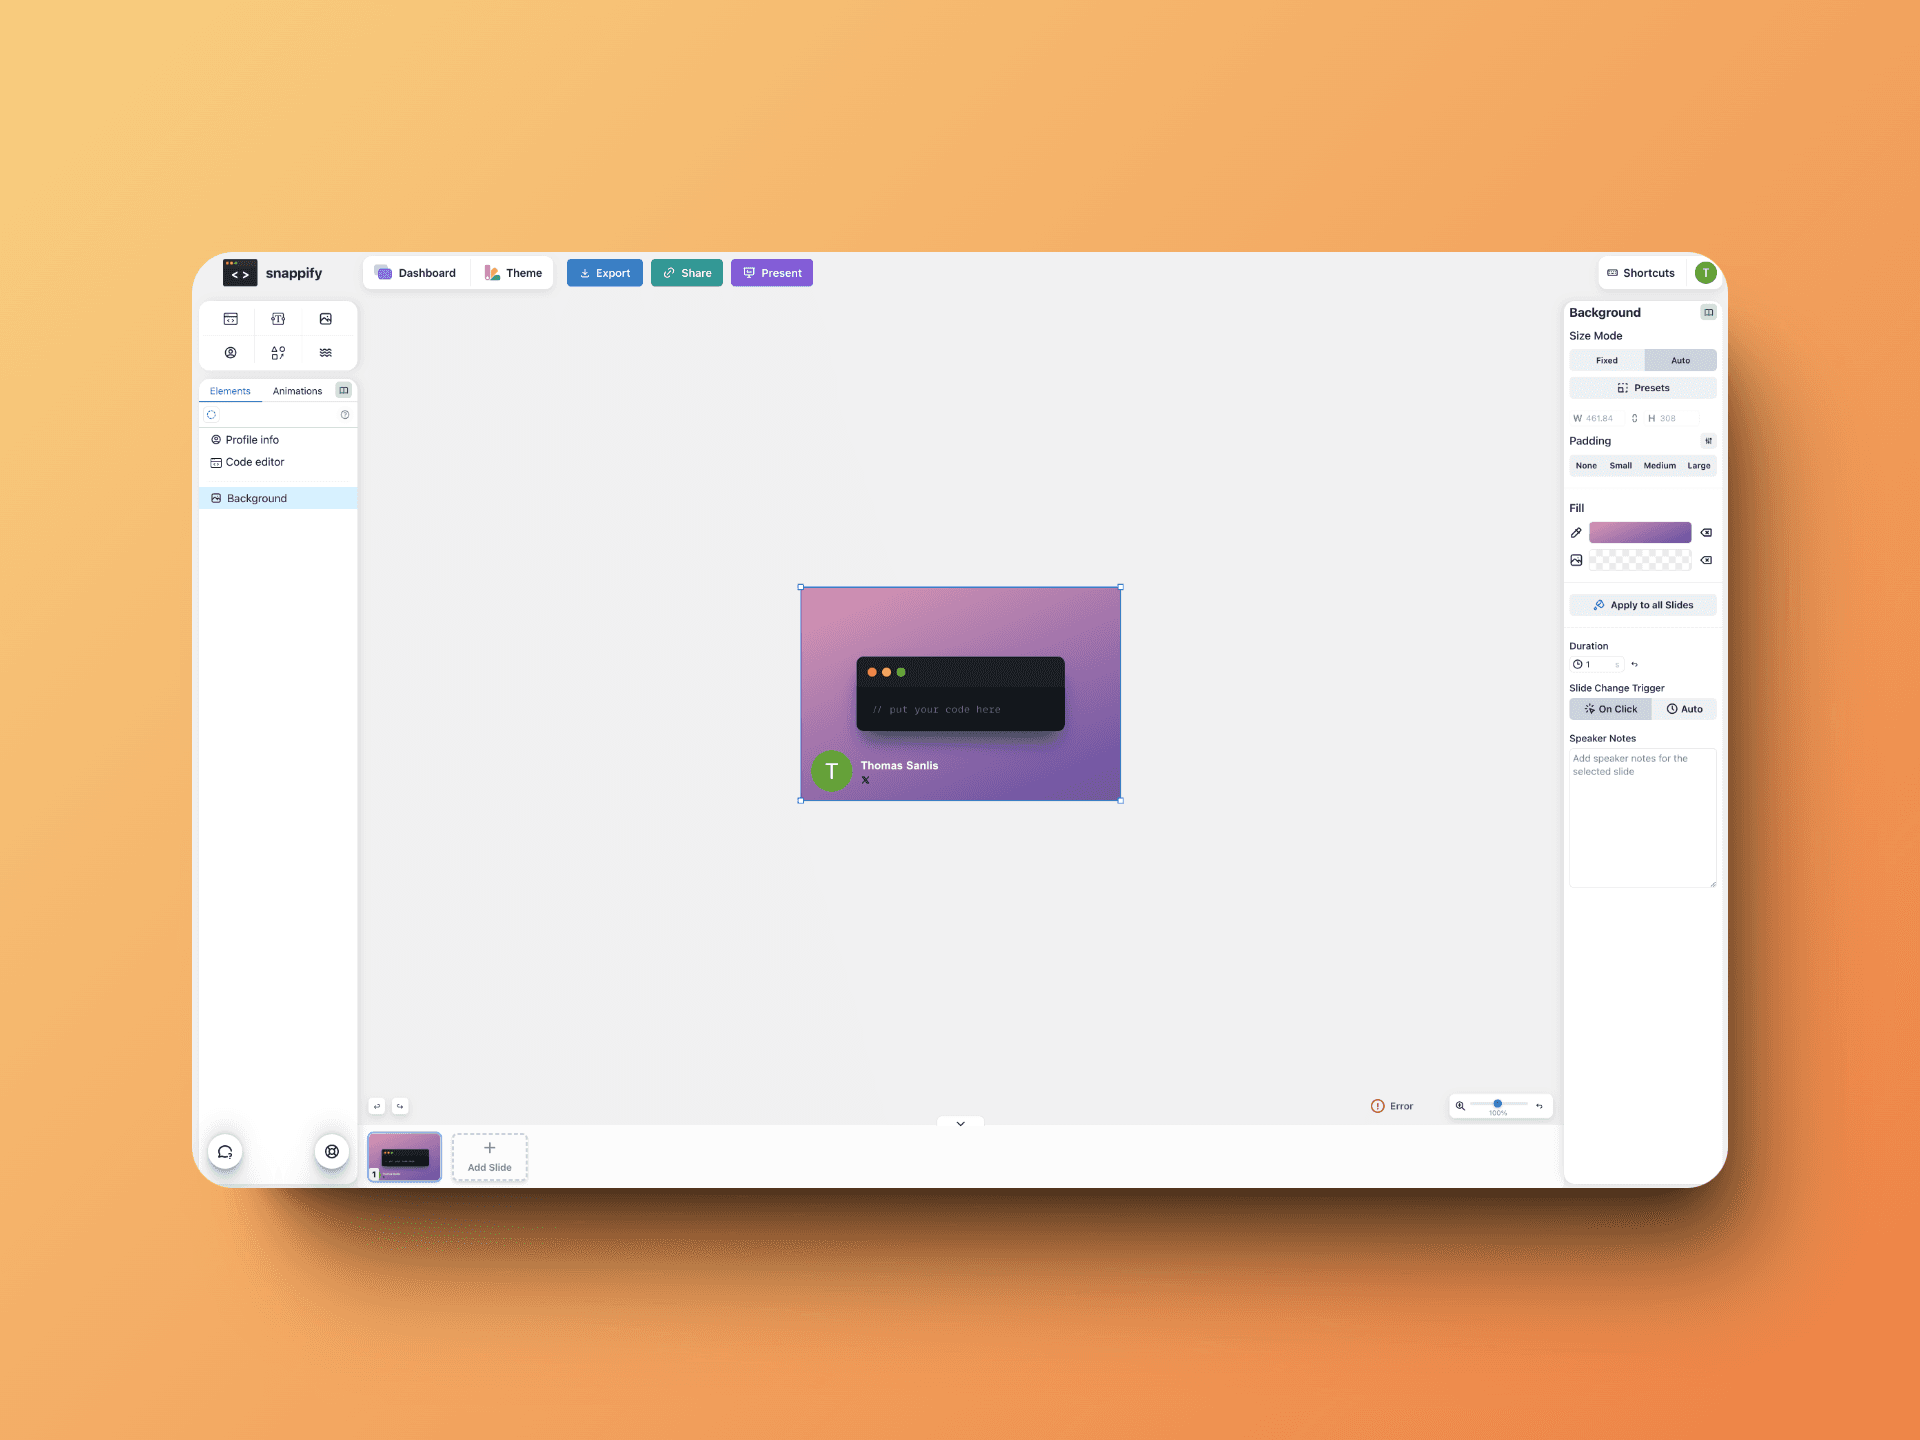
snappify's editor is really comprehensive. It allows you to create code images in just a few clicks, and customize them endlessly. Here's what it looks like:
snappify editor
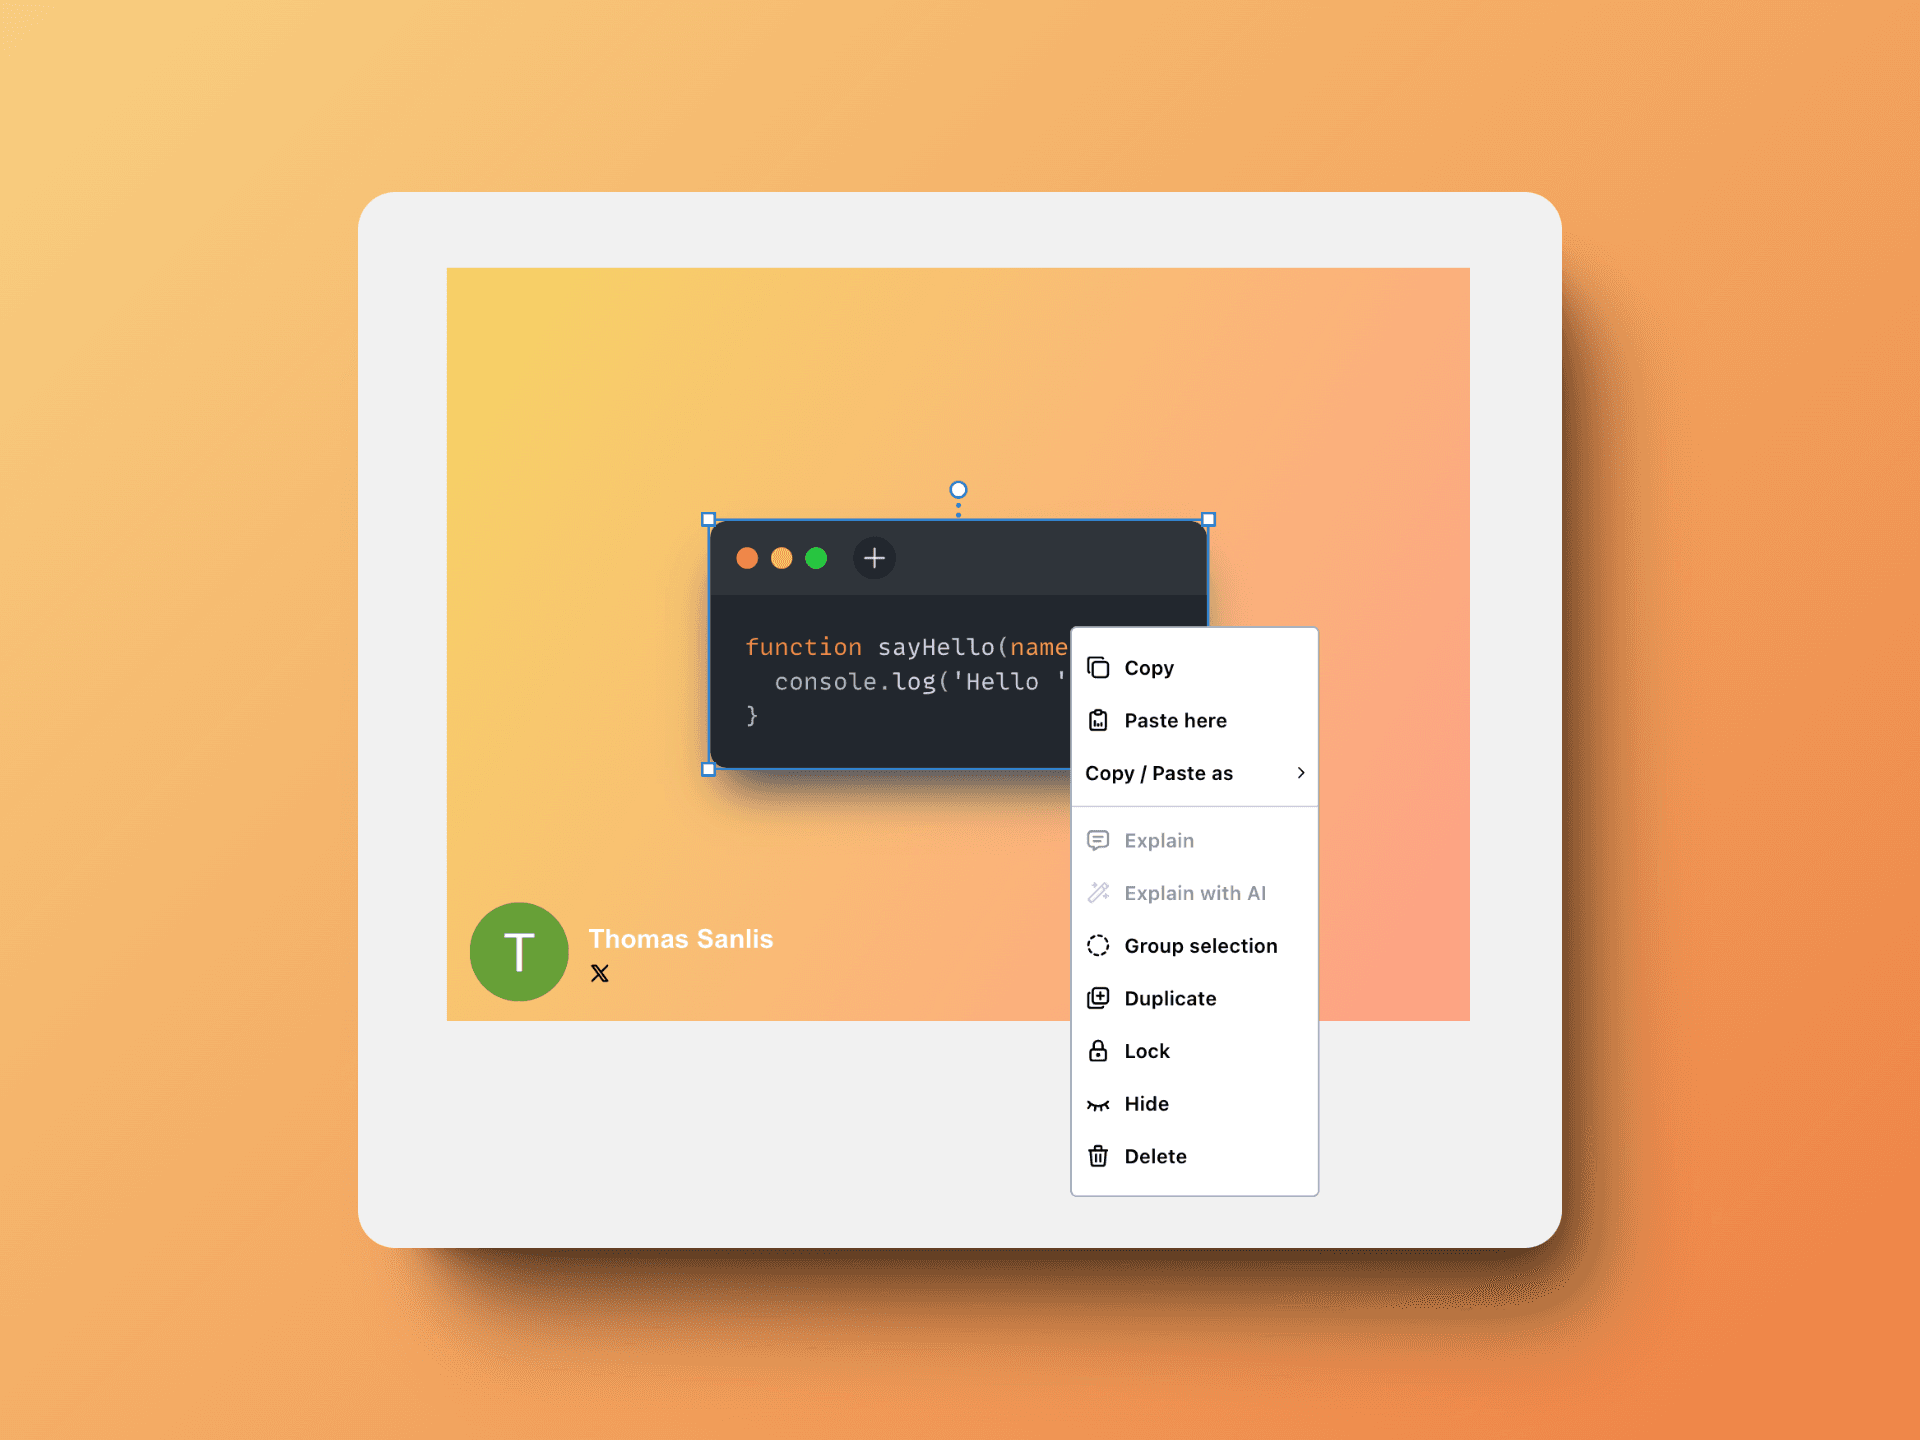
If you're used to editors like Figma or Photoshop, you won't be lost. You'll find a layer system on the left side of your screen, and a property panel for each element on the right. You have the ability to right-click on an element to duplicate, delete, hide it, etc:
snappify allows you to right-click any element
But you may have noticed a section at the bottom of the screen that doesn't exist in either Figma or Photoshop 👀: the slides. But we'll come back to that very soon, let's first finish our tour of the editor.
EVERYTHING is meticulously polished. There are some pretty incredible details that I've never seen elsewhere. For example, you can connect elements together to move them as a unit, and each of them will adapt 🤯! Here's an example:
The editor is full of little gems like this, which make the user experience a real treat. Animations are very simple to use and allow you to give a very dynamic aspect to your code images.
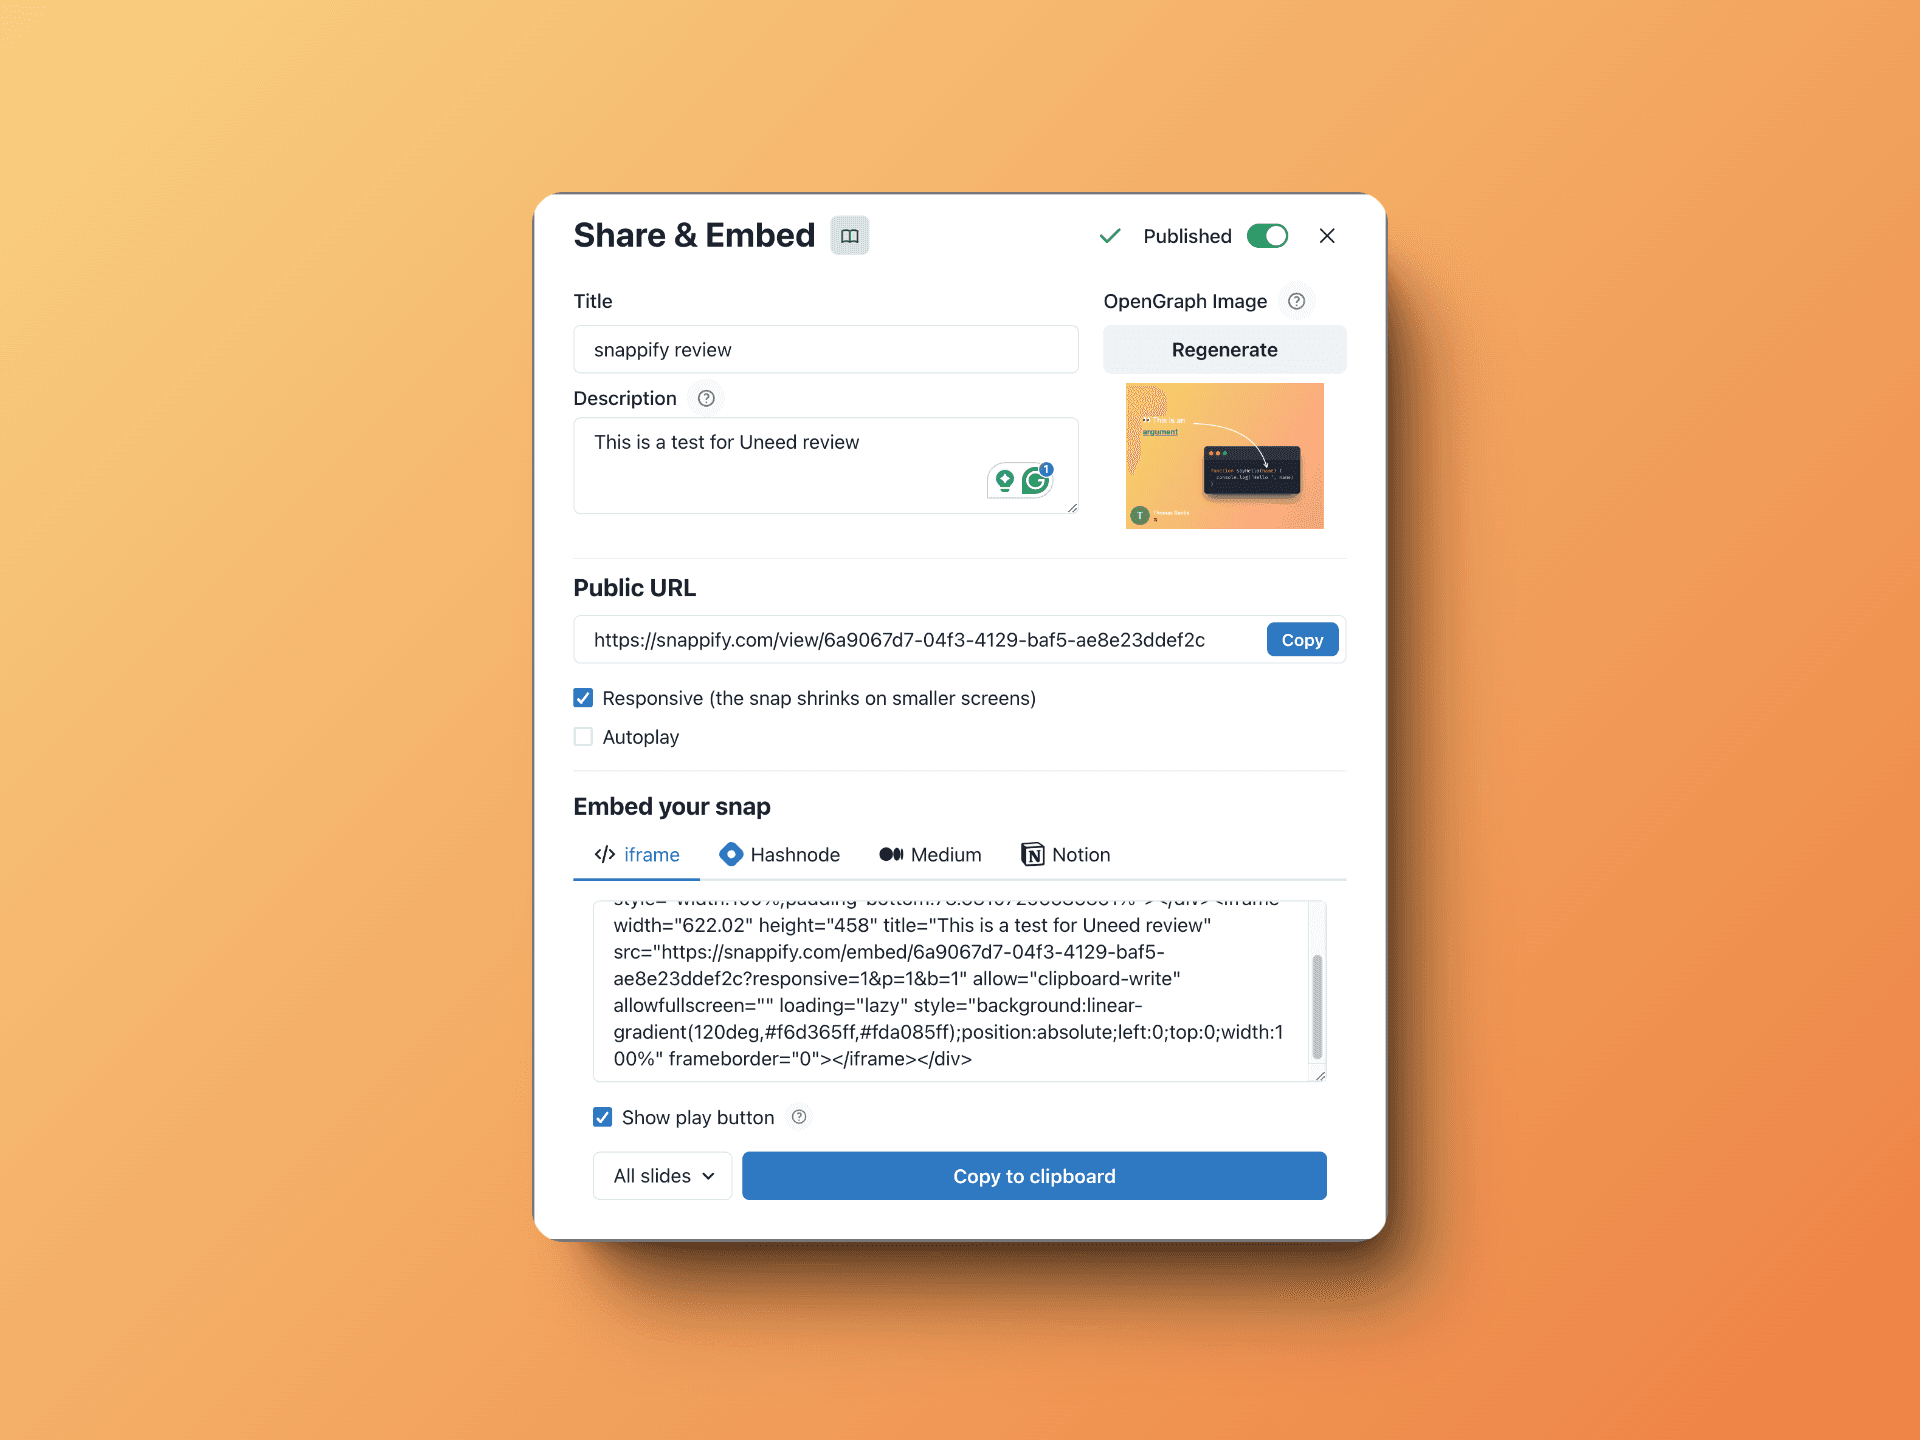
Once your presentation/video is finished, you have the option to share it in several different ways:
snappify sharing options
snappify provides you with a public URL to share (you can even change its Open Graph image!), but you can also embed it almost anywhere...
As with the other features, everything is extremely well thought out and user-friendly. You can copy and paste elements from one slide to another, duplicate your slides, use classic copy and paste, etc.
You see these transitions between my slides, and the way elements that are displayed on multiple slides transition super smoothly?
Well, I didn't do anything for that 😎! snappify takes care of it for you, and the result is frankly impressive.
And that concludes this snappify review! I hope you enjoyed reading it, and that you were able to get an idea of what the tool allows you to do. As for me, I'm absolutely won over, and I'm wondering if I won't integrate it into the workshops I sometimes prepare for my students 😍!
And attention, I've saved the best for last: snappify's free plan is extremely generous, but most importantly, the first paid plan is only $5 per month 😱!
Context.dev Review - One API for Scraping, Logos & Brand Data
We've tested Context.dev, a unified Scraping API, Logo API and Brand API that turns any domain into structured, AI-ready data. Markdown crawling for LLMs and RAG, a Clearbit-style Logo Link, and a full Brand API to personalize SaaS onboarding.
Reviews
Atoms Review - Full-Stack Vibe Coding for Founders
We've tested Atoms, a vibe coding tool that goes beyond AI coding copilots with a multi-agent workflow, full-stack app generation, Atoms Cloud hosting, and launch-oriented tooling for founders.
Reviews
Rowform Review - Free Typeform Alternative
We've tested Rowform, a conversational AI form builder with unlimited forms, questions, and responses on the free plan, plus logic jumps, webhooks, 500+ templates, and strong automation features.
Reviews
Veille Review - Stop Fraud Before It Hits Your App
We've tested Veille, a fraud detection API that validates emails, domains, IPs and more in under 50ms